


Steam Deck: Play Game Boy Games Easily
Quick Links
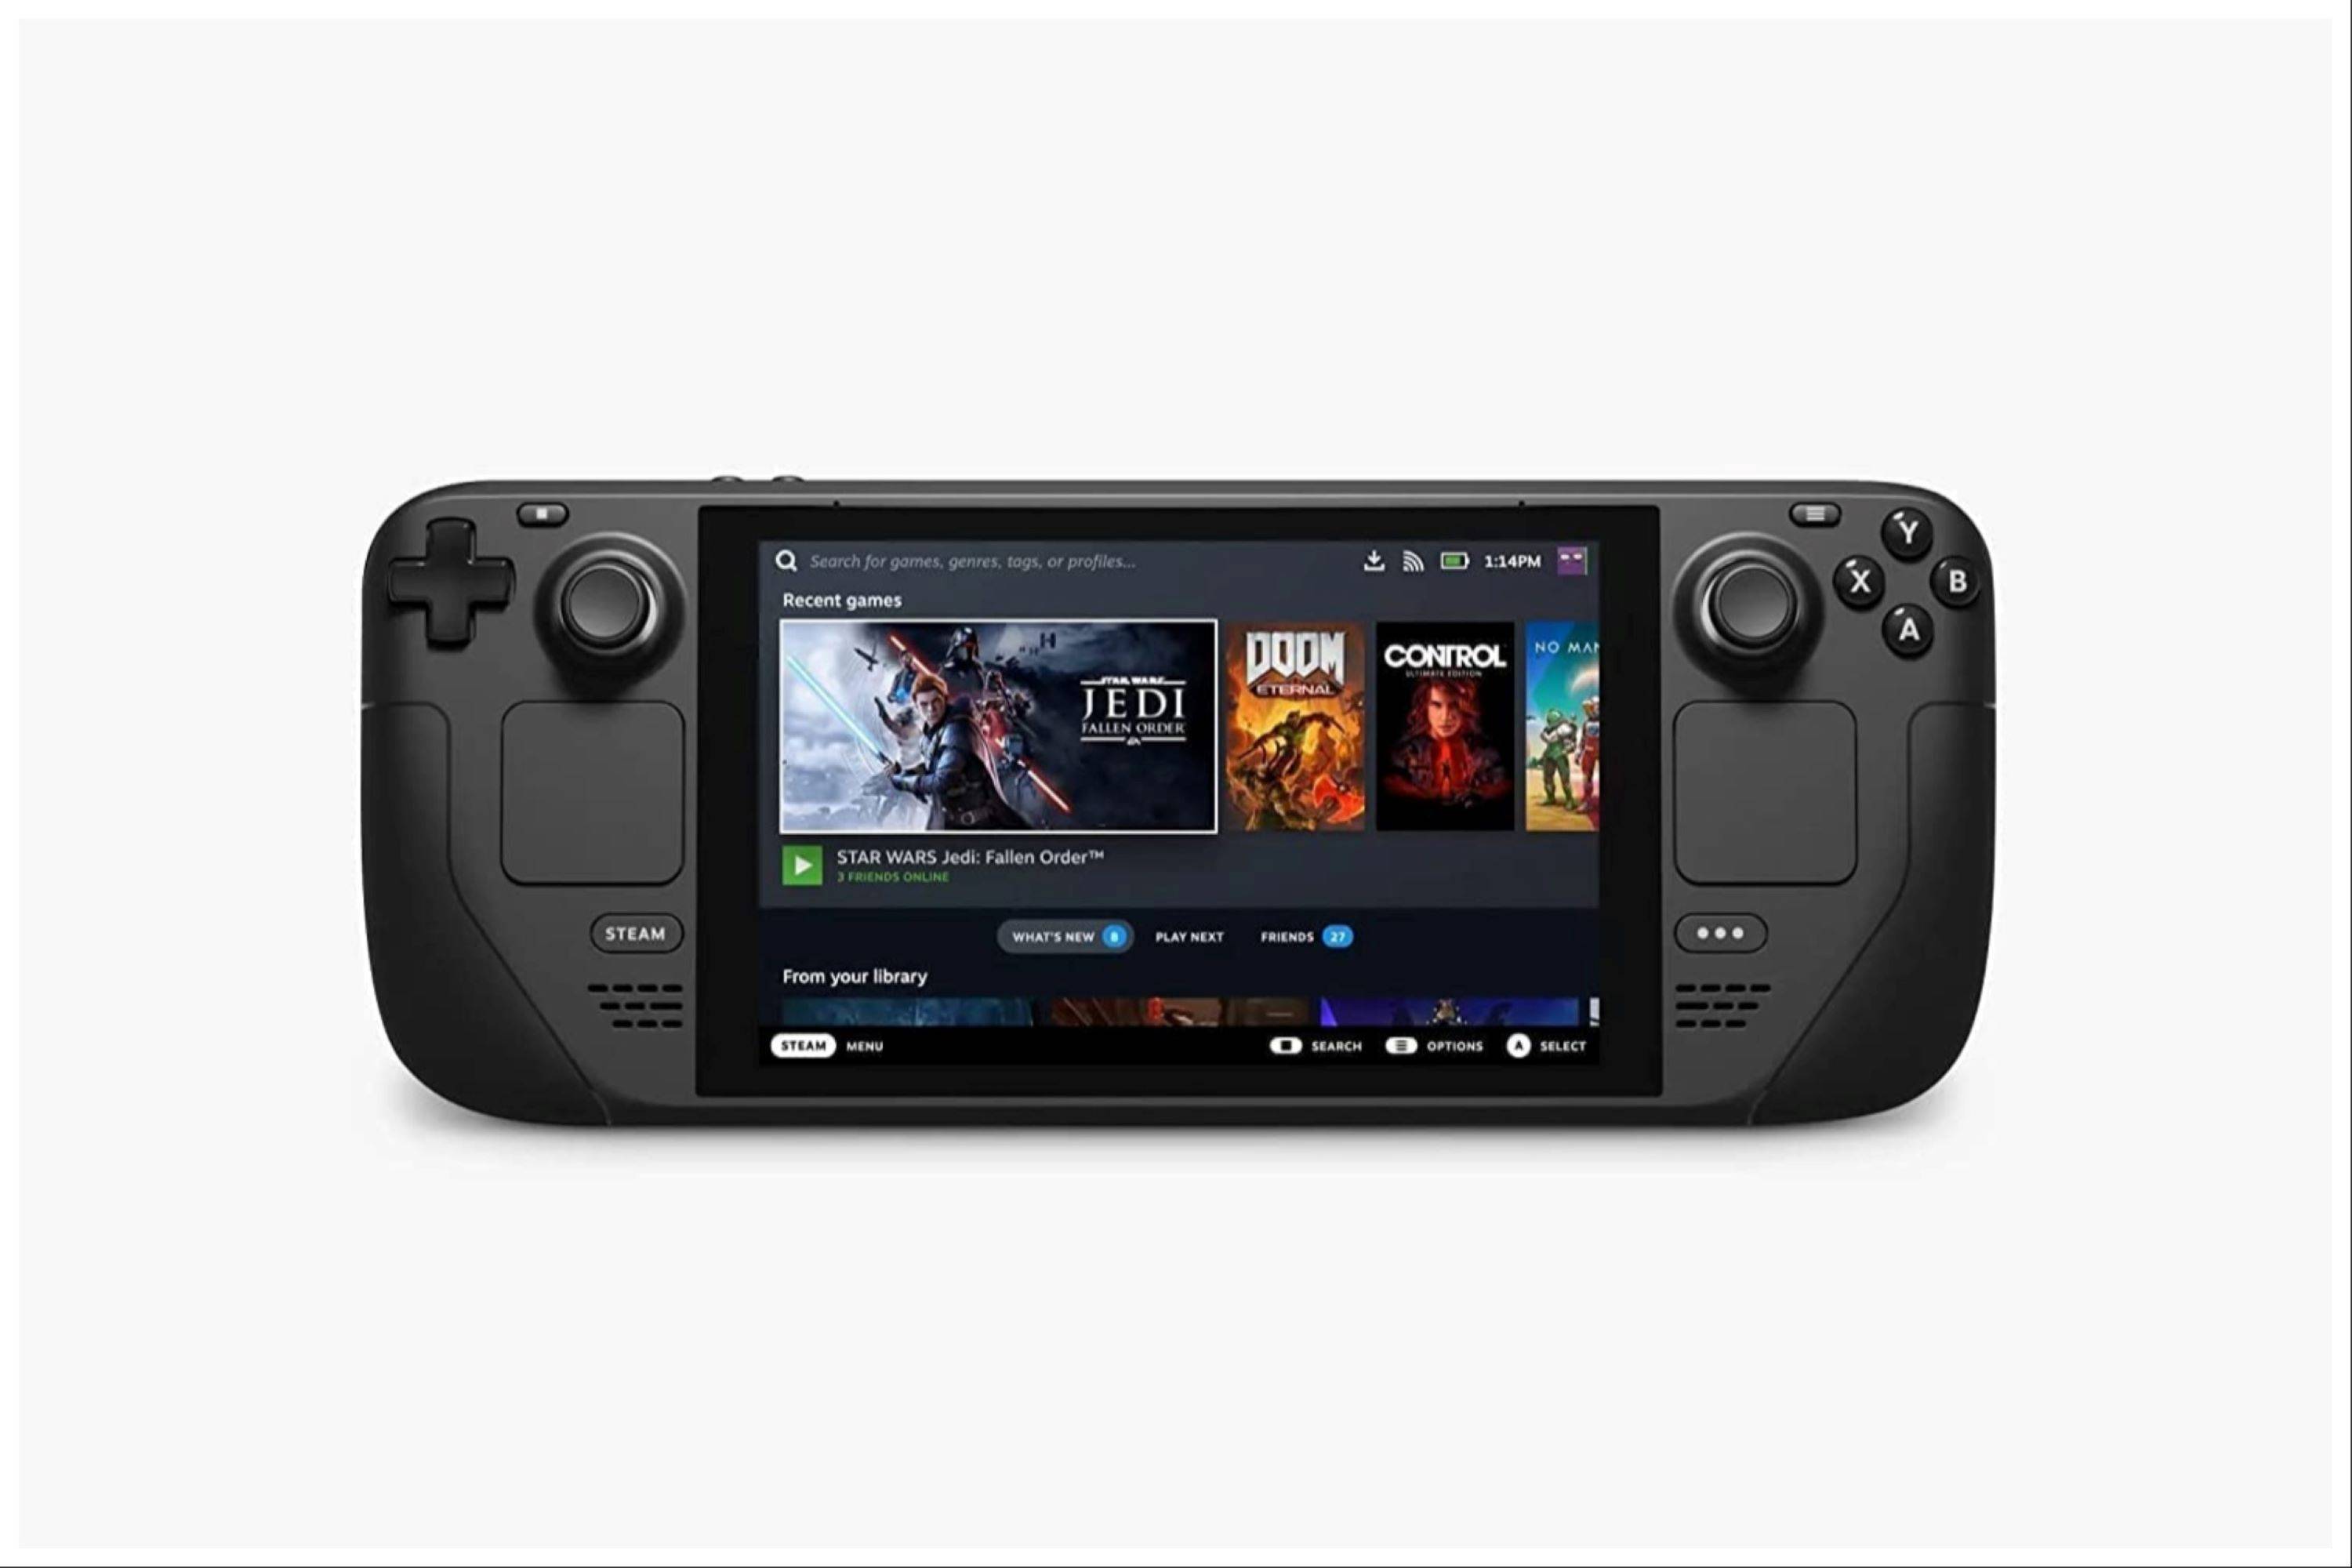
The Steam Deck is a versatile gaming device that can handle modern games and, thanks to its PC-like architecture, is highly customizable. With EmuDeck, you can transform your Steam Deck into an exceptional platform for playing retro games, including those from the original Game Boy.
Despite their age, the craftsmanship behind these classic games shines through, even with the limited color palette of the Game Boy. Here's a detailed guide on how to install EmuDeck and enjoy Game Boy games on your Steam Deck.
Updated January 13, 2024, by Michael Llewellyn: While the Game Boy games don't require much power to run on the Steam Deck, achieving the best emulation experience involves installing Decky Loader and the Power Tools plugin to fine-tune settings like SMTs. This guide now includes steps for installing Decky Loader and Power Tools, as well as instructions for restoring Decky Loader after a Steam Deck update.
Before Installing EmuDeck
 Before you begin, ensure you have the following items ready to run emulators and store your favorite Game Boy games:
- A fully charged Steam Deck.
- An A2 microSD card for installing games and emulators.
 - Legally owned Game Boy ROMS.
- A Bluetooth keyboard and mouse for browsing and transferring ROMS (or a wired keyboard and mouse if using a Steam Deck docking system).
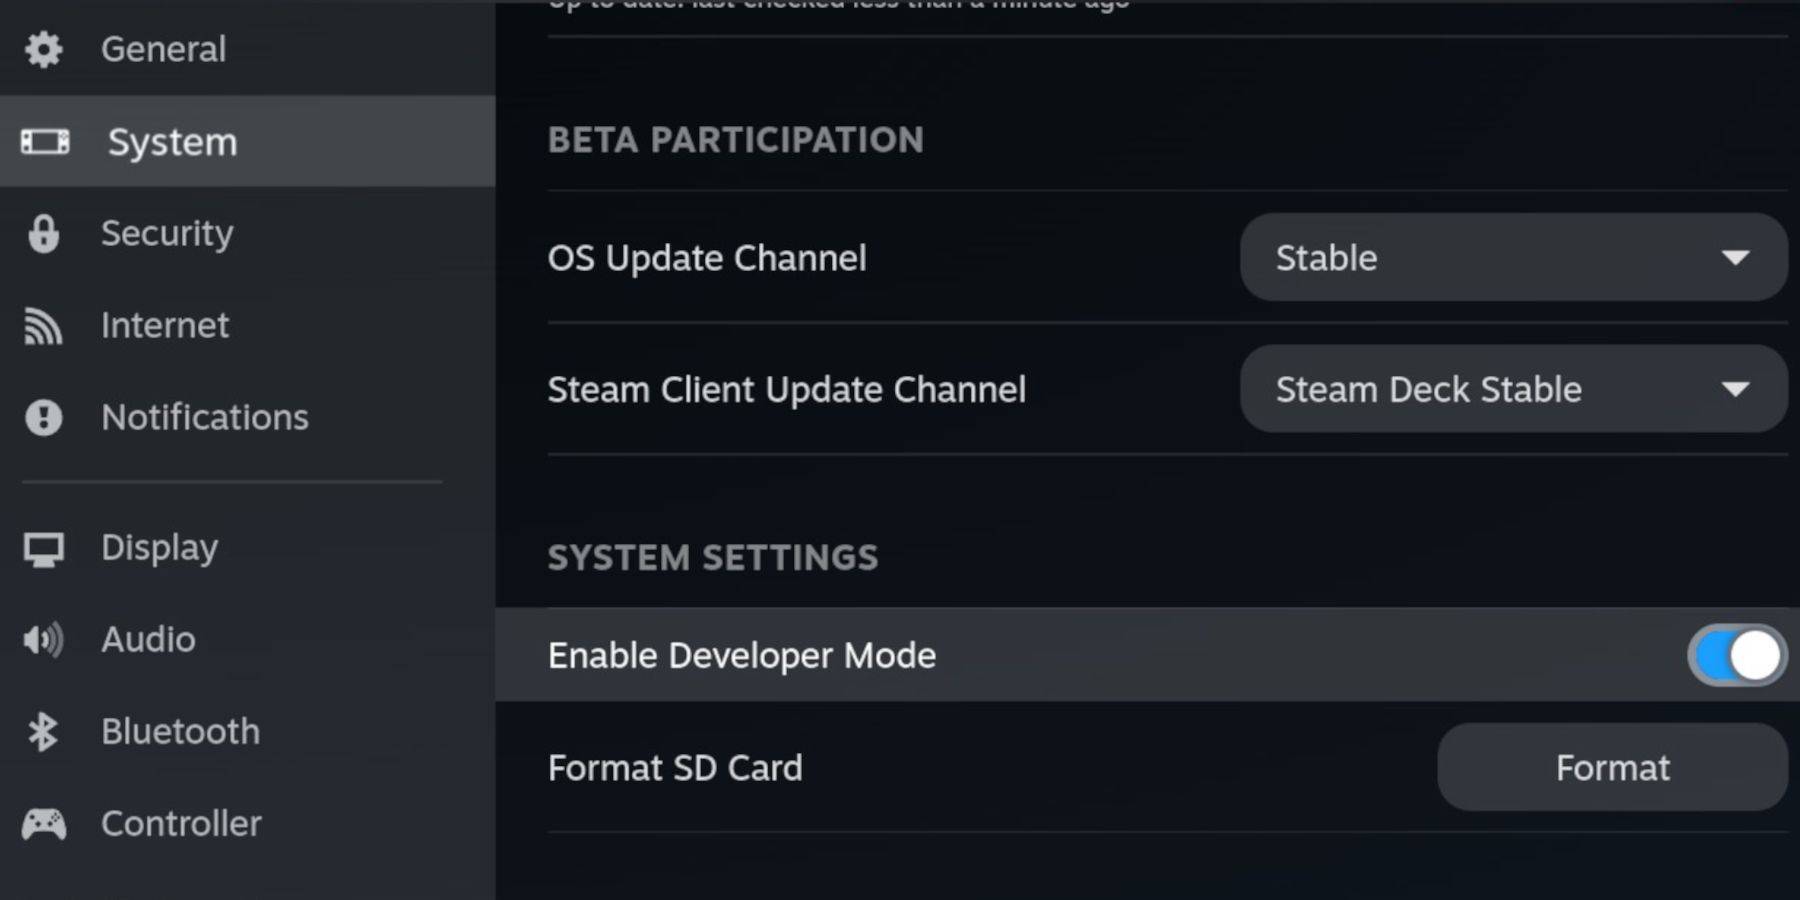
Change Developer Mode
To prepare your Steam Deck for EmuDeck:
- Press the Steam button.
- Navigate to the System menu and enable Developer Mode.
- Open the Developer menu and turn on CEF Debugging.
- Access the Power option.
- Select Switch to Desktop Mode.
Download EmuDeck In Desktop Mode
 Once in Desktop Mode:
- Connect a keyboard and mouse.
- Launch a browser like DuckDuckGo or Mozilla Firefox and download the EmuDeck program.
- Click "Download" at the top-right of the page, select "Steam OS," and then "Download for Free."
- Choose "Recommended Settings."
- Opt for "Custom Install."
- In the EmuDeck menu, select the "Primary" SD card image.
- Within the EmuDeck startup process menu, again select the "Primary" SD card image.
- You can either install all emulators or select RetroArch, Emulation Station, and Steam ROM Manager, then click "Continue."
- Enable Auto Save.
- Skip the next few screens and click "Finish" to complete the installation.
Quick Settings
After installing EmuDeck:
- Open the EmuDeck program and navigate to Quick Settings.
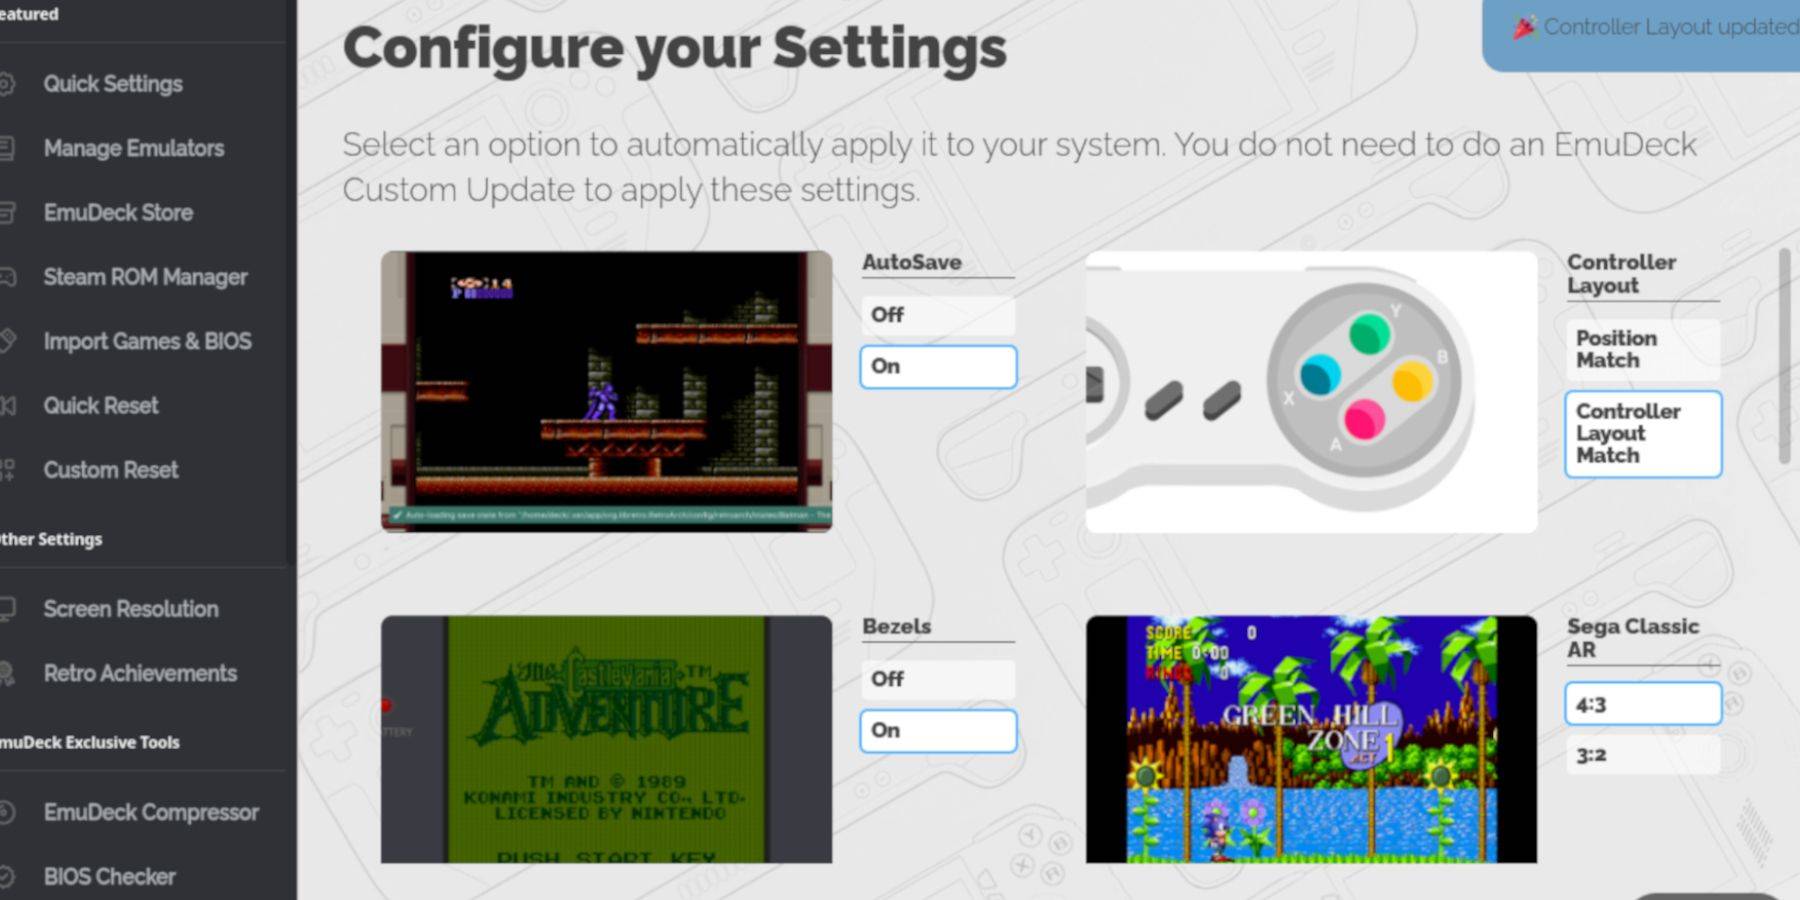 - Turn AutoSave On.
- Select Controller Layout Match.
- Enable Bezels.
- Turn on Nintendo Classic AR.
- Activate LCD Handhelds.
Adding Game Boy Games To The Steam Deck
 With EmuDeck set up, it's time to transfer your Game Boy games into the correct folder in Desktop Mode:
- Use Dolphin File Manager to access your files.
- Click on "Primary" under Removable Devices on the left panel.
- Navigate to the Emulation folder.
- Open the ROMS folder.
- Locate and open the folder named "gb."
- Ensure your ROMS have the correct file extension (.gb).
- Transfer your Game Boy files into this folder.
.gb
Steam ROM Manager
Once your games are in their correct folder:
- Reopen the EmuDeck program.
- Click on "Steam ROM Manager" on the left panel.
- Select "Yes" to close the Steam client and click "Next."
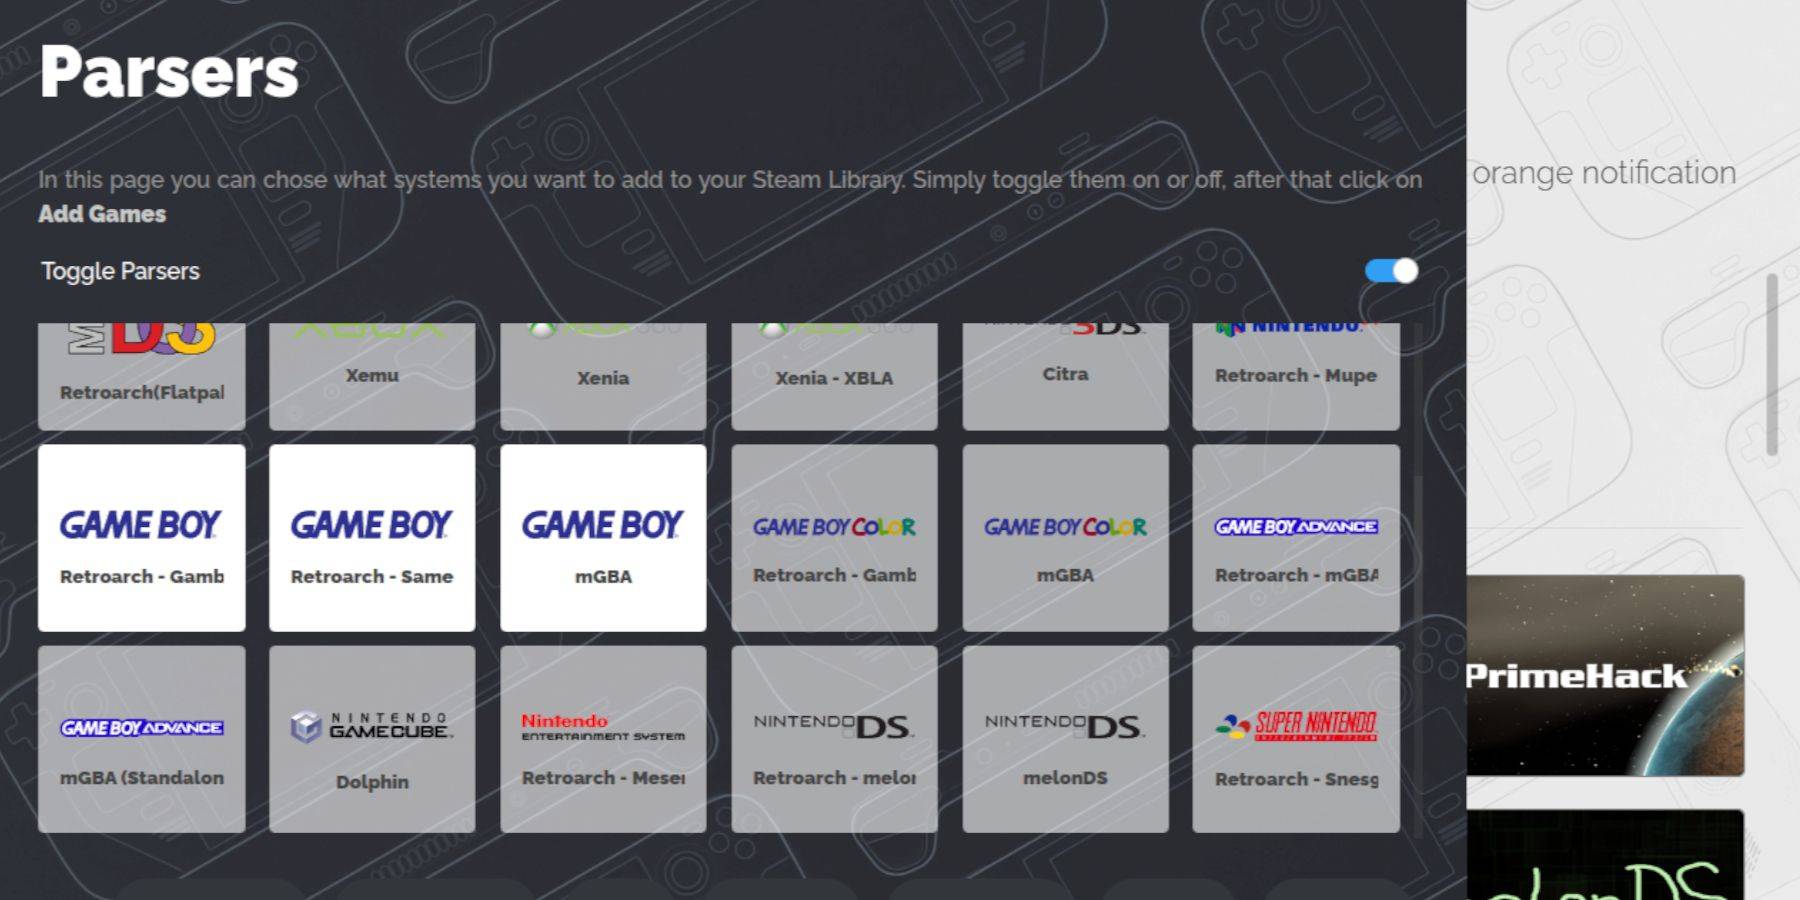
- On the Parsers screen, switch "Toggle Parsers" off.
- Click on the three Game Boy tabs.
- Select "Add Games."
- After the Steam ROM Manager finishes adding the games and their cover art, click "Save to Steam."
- Wait for the "Done adding/removing entries" notification, then close the Steam ROM Manager.
- Exit EmuDeck and return to Gaming Mode.
Playing Game Boy Games On The Steam Deck
To play your Game Boy games:
- Press the Steam button.
- Open the Library.
- Navigate to the Collections tab.
- Select one of the new Game Boy windows.
- Open the game and tap "Play."
Customize The Game's Colors
Some Game Boy games include a color option, despite the original hardware's limitations. You can adjust colors or tones in RetroArch:
- Launch a Game Boy game.
- Press the select button (with two squares above the left analog stick) and the Y button to open the RetroArch menu.
- Select "Core Options."
- Open "GB Colorization."
- Switch to "Auto" for color or "Off" for a more authentic Game Boy experience.
Using Emulation Station For Game Boy Games
 While you can launch Game Boy games directly from the Steam Library, Emulation Station provides an alternative:
- Press the Steam button.
- Open the Library.
- Navigate to the Collections tab.
- Select the "Emulators" window.
- Click on the "Emulation Station" window and select "Play."
- Scroll to the Game Boy icon and press the A button to open.
- Press A to launch your Game Boy games.
- The RetroArch commands (Select and Y) work similarly in Emulation Station.
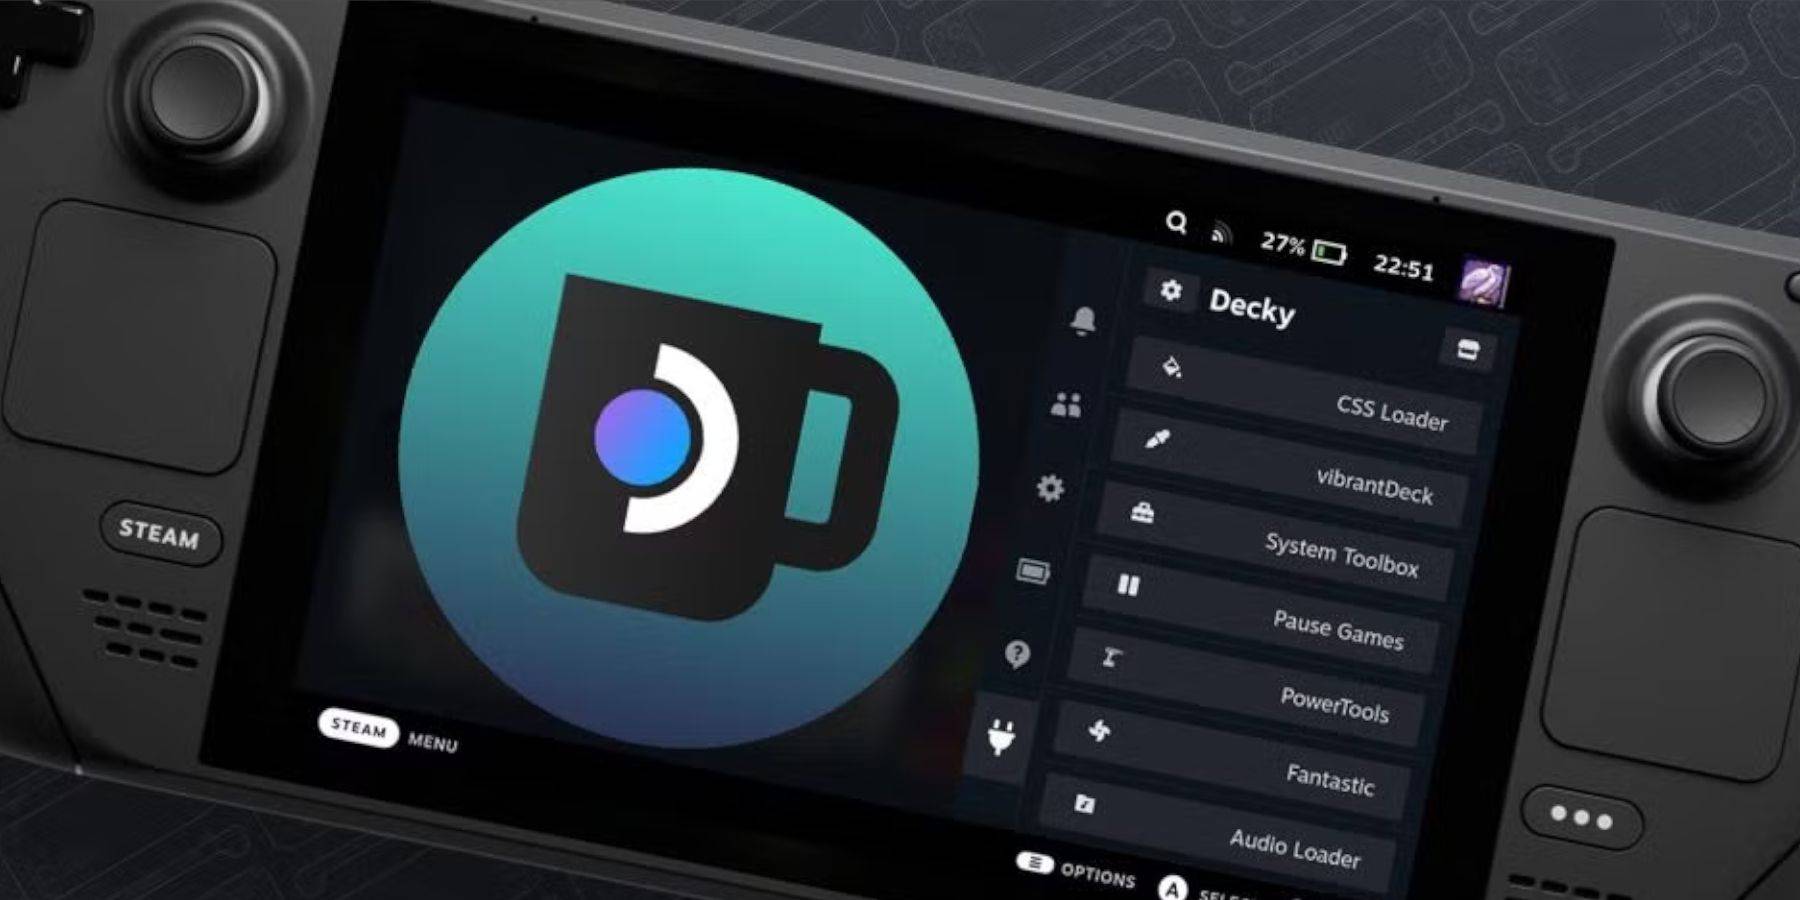
Install Decky Loader On The Steam Deck
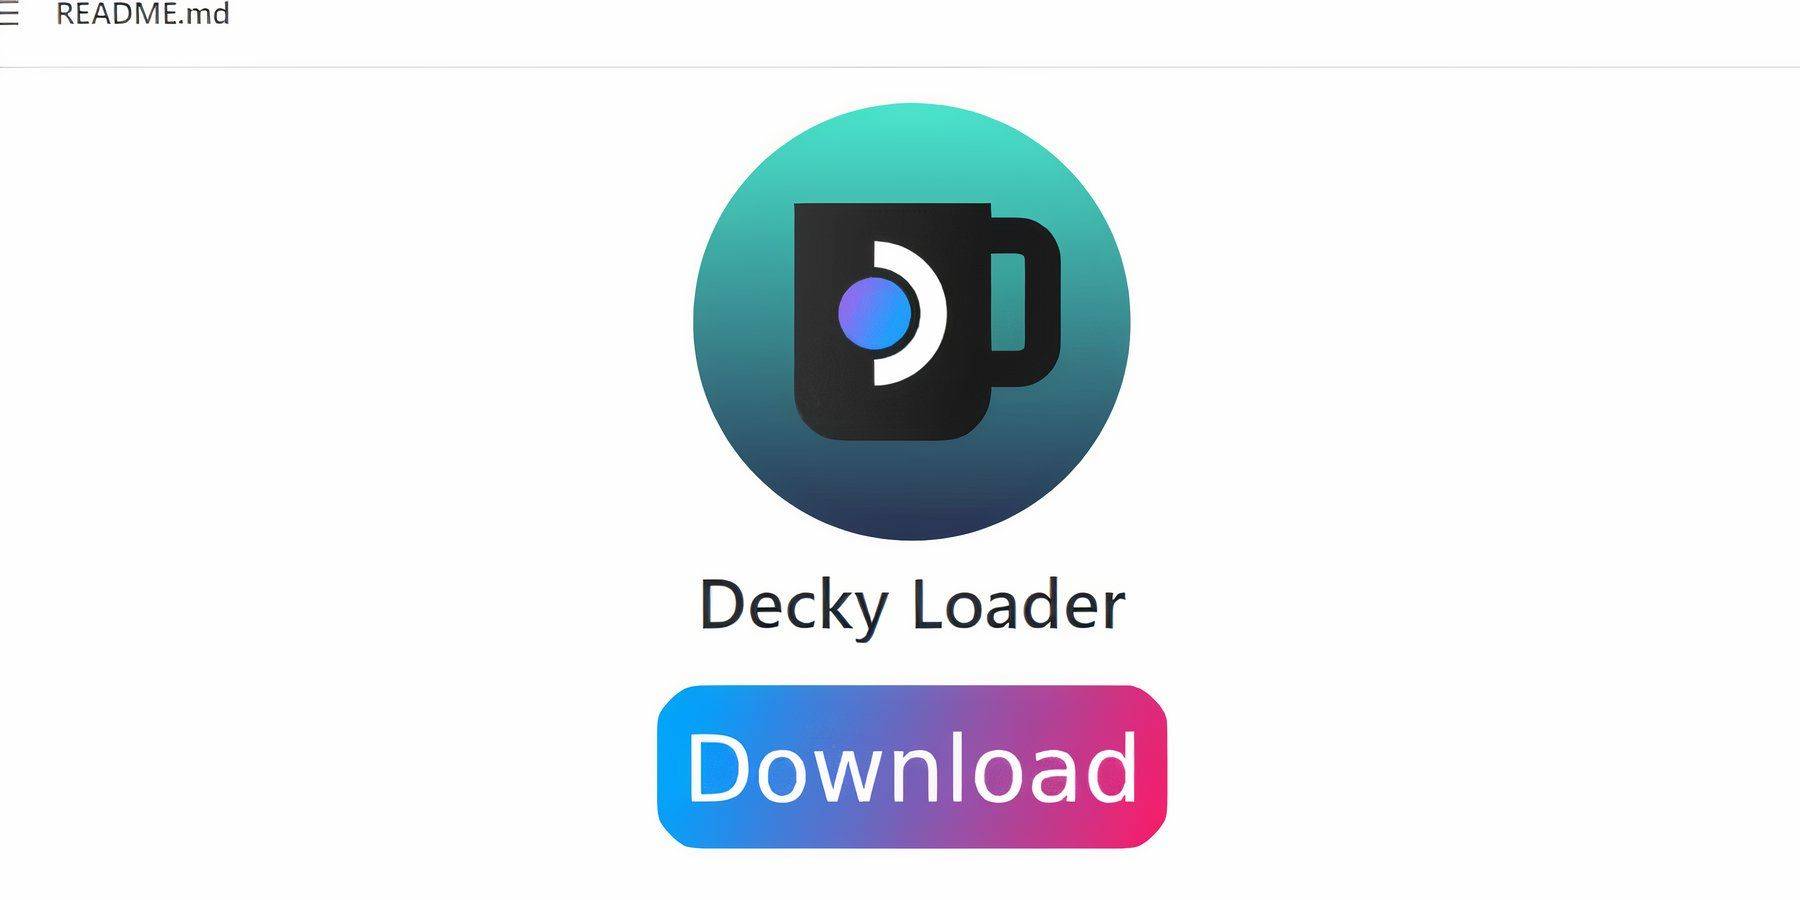 To optimize your Game Boy emulation experience, the EmuDeck developers recommend installing Decky Loader along with the Power Tools plugin:
- In Gaming Mode, press the Steam button.
- Open the Power menu and switch to Desktop Mode.
- Launch a web browser and navigate to the GitHub page for Decky Loader.
- Scroll down and click the large "Download" icon to start the download.
- Once downloaded, double-click the launcher and select "Recommended Install."
- After installation, restart the Steam Deck in Gaming Mode.
Installing The Power Tools Plugin
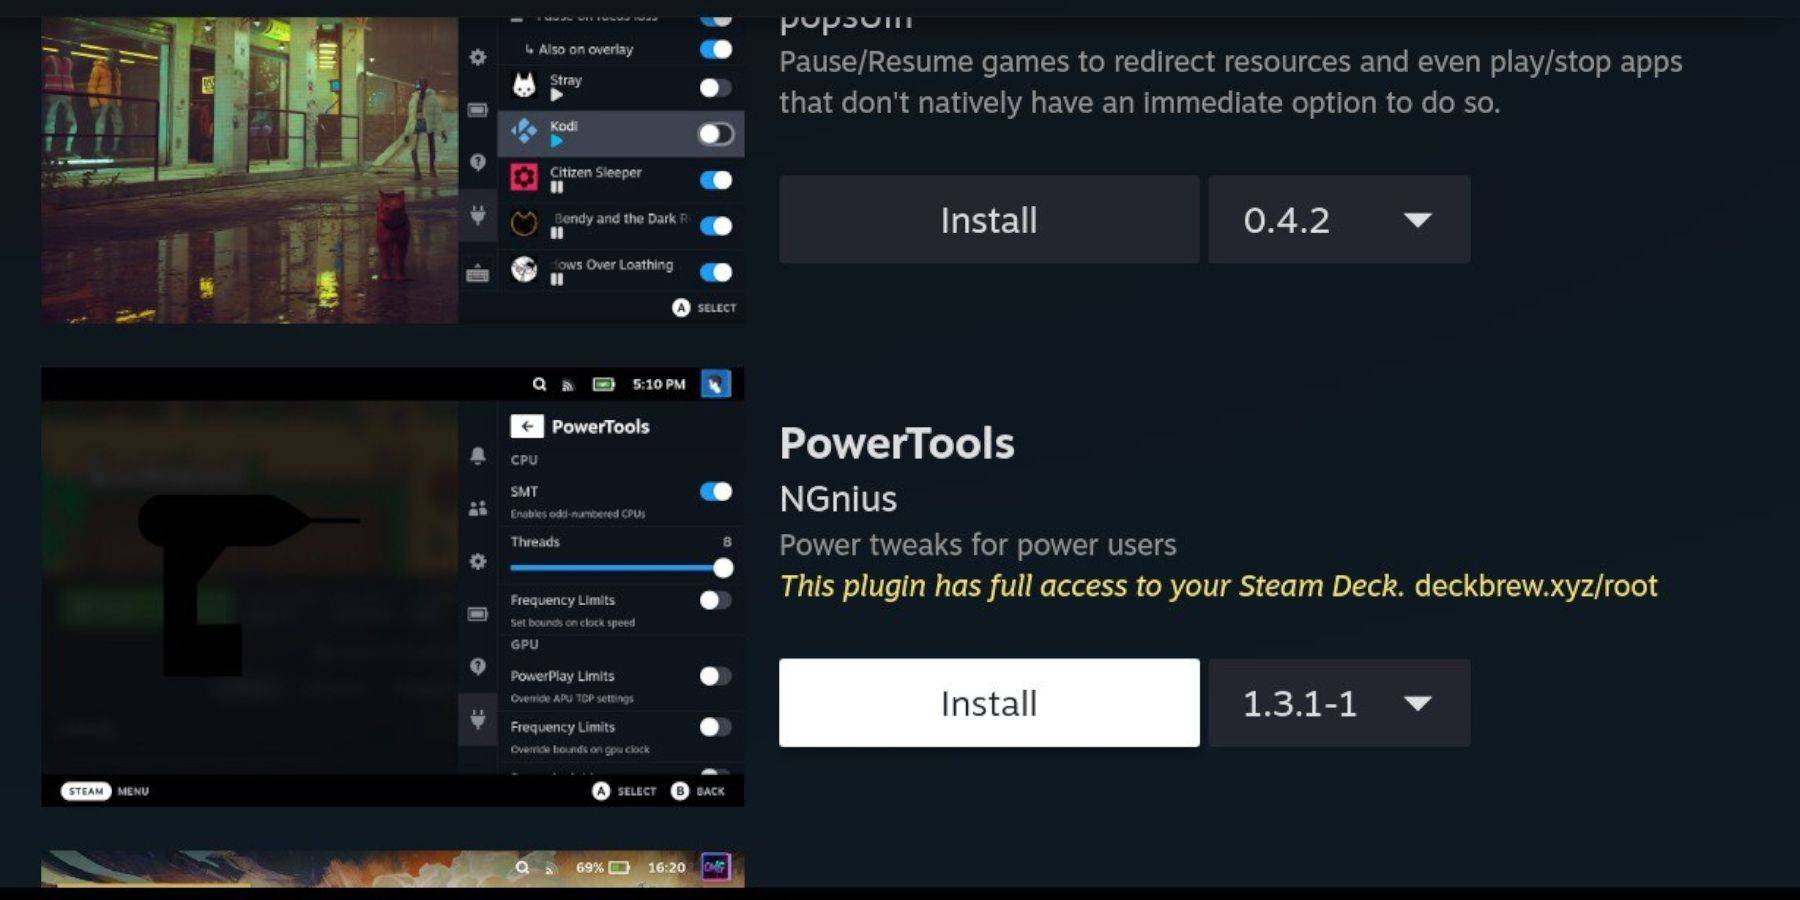 With Decky Loader installed, enhance your Game Boy games' performance by adding Power Tools:
- In Gaming Mode, access the Quick Access Menu (QAM) and select the new plugin icon at the bottom of the side menu.
- Click the store icon next to the settings cogwheel to enter the Decky Store.
- Use the search bar to find and install the Power Tools plugin.
Power Tools Settings For Emulated Games
To adjust settings for your Game Boy games:
- Press the Steam button to open the Library and launch a Game Boy game from the Collections tab or Non-Steam Library list.
- After launching the game, press the QAM button to access Decky Loader and select the Power Tools menu.
- Select "Turn off SMTs."
- Adjust the slider to set "Threads" to 4.
- Press the QAM again to access the Performance menu.
- Click "Enable Advanced View."
- Switch "Manual GPU Clock Control" On.
- Increase the "GPU Clock Frequency" to 1200.
- Enable the "Per Game Profile" feature to save customized settings for each game.
Restoring Decky Loader After A Steam Deck Update
 Major updates to the Steam Deck can sometimes affect third-party applications like Decky Loader. Here’s how to restore it:
- Switch to Desktop Mode by pressing the Steam button and selecting the Power menu.
- Launch a browser after the Steam Deck boots into Desktop Mode.
- Navigate back to the Decky Loader GitHub page and click the "Download" button to start the download again.
- After downloading, select "Execute" and avoid clicking "Open."
- When prompted, enter your pseudo password in the pop-up box.
- If you haven't set up a pseudo password yet, follow the on-screen instructions to create one. Choose a strong, memorable password for future unofficial app installations.
- Restart the Steam Deck in Gaming Mode.
- Access your Decky Loader app by pressing the QAM button to ensure your settings and plugins are restored. If Decky Loader is ever removed by a Steam Deck update, repeat these steps.
With these steps, you can enjoy Game Boy games on your Steam Deck and customize settings to your preference. The larger screen of the Steam Deck makes it an ideal platform for revisiting these classic titles.
 Rate NowYour comment has not been saved
-
 Mar 17,25All Split Fiction Achievements & How to Unlock Them Dive into the captivating co-op adventure Split Fiction from Hazelight Studios! This guide outlines every achievement, ensuring you and your partner conquer every challenge. While some trophies are earned naturally through the story, many require thorough exploration and unique actions. Use this g
 -
 Jan 16,25Girls' Frontline 2: Exilium Tier List Released Another free-to-play gacha game, another character ranking to guide your investment choices. This Girls’ Frontline 2: Exilium character tier list helps you prioritize which characters are worth your resources. Girls’ Frontline 2: Exilium Character Tier List Here's a breakdown of currently available
 -
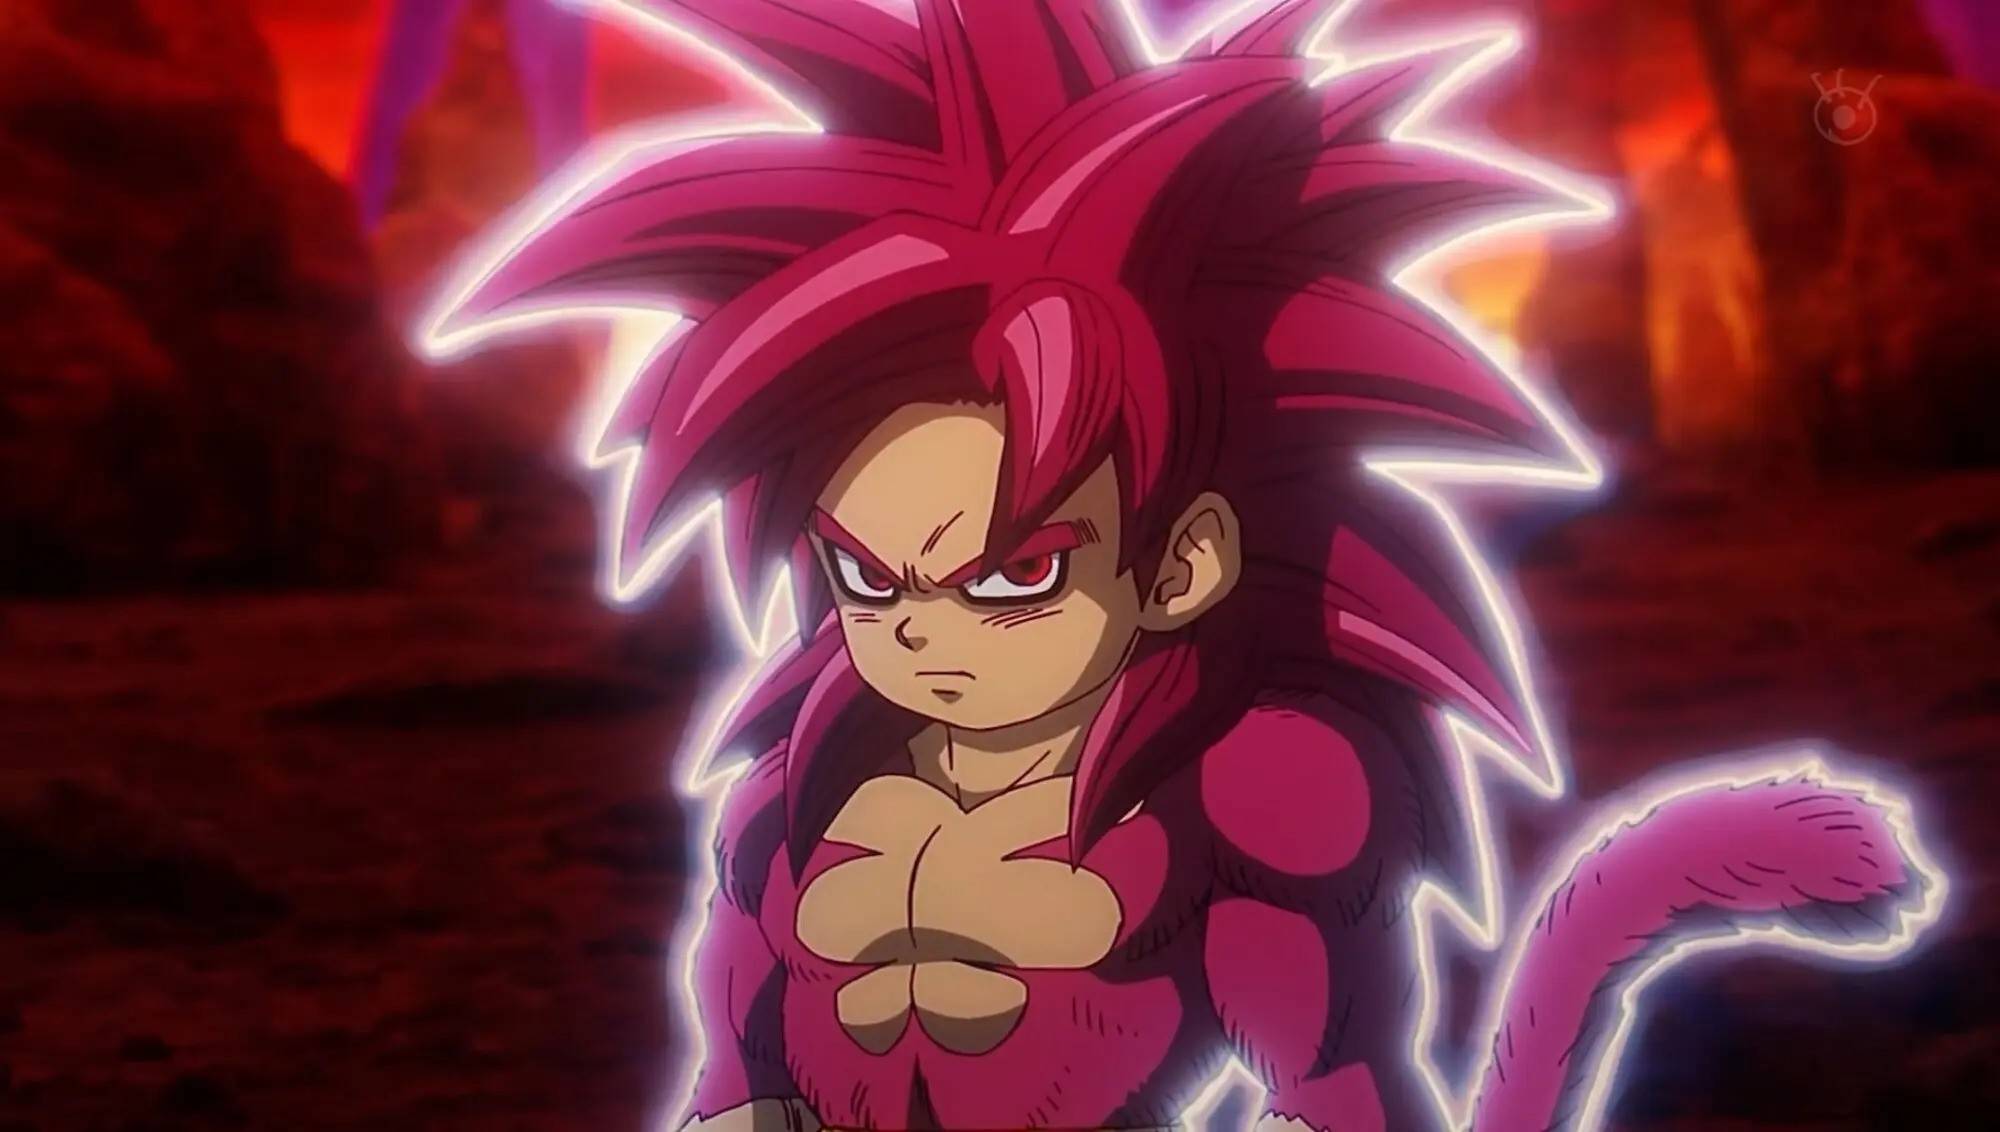 Mar 19,25How Does Dragon Ball Daima’s Finale Explain Goku Never Using Super Saiyan 4 in Super? The climactic battle in Dragon Ball Daima's finale pits Gomah against Goku, showcasing Goku's newly acquired form. This episode naturally led many fans to anticipate an explanation for Super Saiyan 4's absence in Super. So, how does the finale address this?In episode 19, after Glorio's wish restore
 -
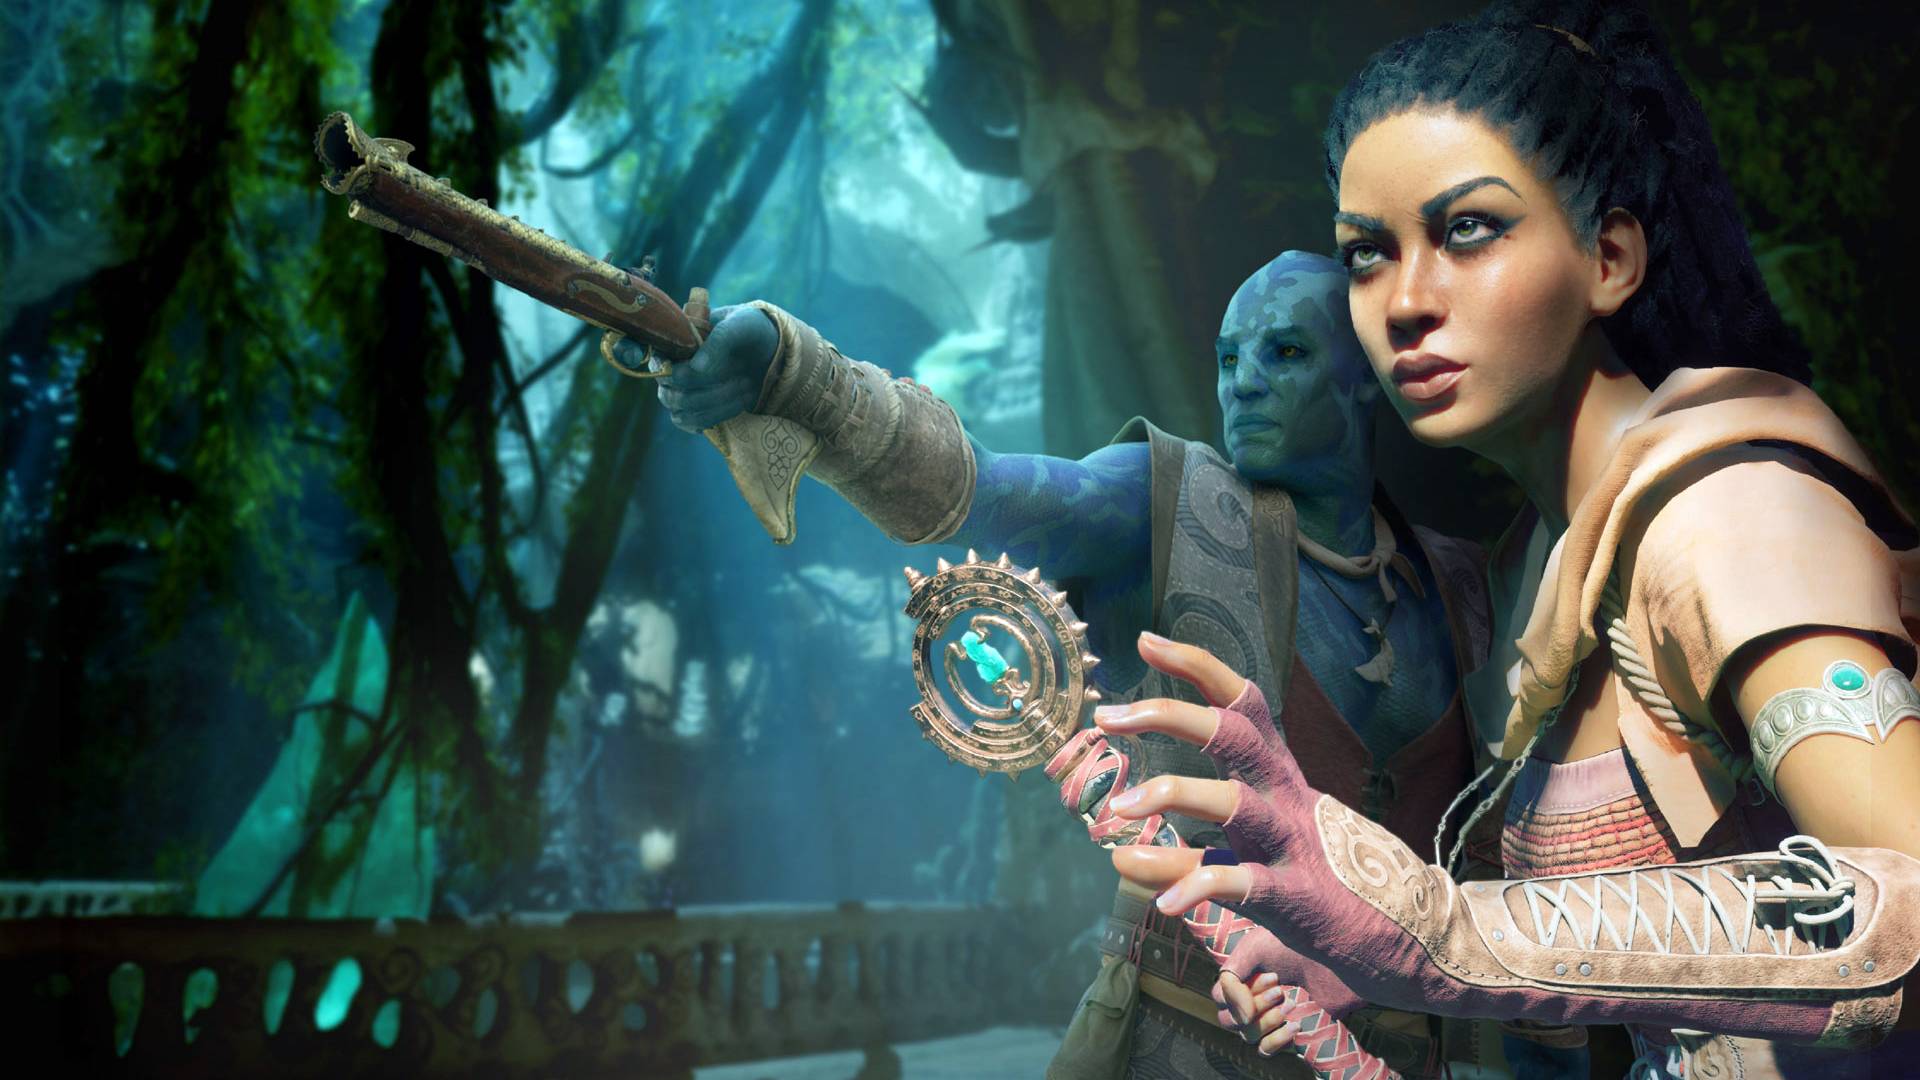 Mar 18,25Avowed Best PC Settings for Max FPS *Avowed*, a visual masterpiece, immerses you in a richly detailed world. To fully appreciate its stunning graphics without sacrificing performance, optimizing your PC settings is key. This guide helps you strike the perfect balance between breathtaking visuals and smooth gameplay.Recommended Videos