


Asus ROG Ally: Easy Connection Guide to TVs and Gaming Monitors
The ROG Ally burst onto the scene in 2023 as a compelling alternative to the Steam Deck, offering gamers access to a wider range of titles thanks to its Windows-based operating system. In the previous year, the ROG Ally X was released, featuring enhanced internal components and a more ergonomic design with improved cooling solutions.
While the ROG Ally is primarily known for its portability, it’s equally enjoyable to settle down on the couch and enjoy games on a larger screen, whether it’s a TV or gaming monitor. Fortunately, both versions of the ROG Ally support connection to external displays, allowing users to immerse themselves in their favorite titles on the big screen. For a comprehensive guide on how to connect your ROG Ally to a TV or monitor, complete with step-by-step instructions and recommendations, keep reading.
Connecting via an Adapter
There are several methods to connect your ROG Ally to a TV or monitor, but using an adapter is a straightforward and compact solution. Whether you prefer a small dongle-style adapter, a direct cable, or the official ROG Gaming Charger Dock, there are numerous options available.
What You’ll Need

ASUS ROG 65W Charger Dock
ASUS has simplified the process of connecting the ROG Ally to a TV. The most space-efficient adapter option is the official ROG Gaming Charger Dock, which also functions as a charger for your device. All you need is a USB-C cable and an HDMI cable to get started! The Charger Dock comes equipped with a USB-A port, enabling you to connect a mouse and/or keyboard.
Alternatively, if you choose a third-party USB-C to HDMI adapter, simply plug it into the ROG Ally’s USB-C port, then connect an HDMI cable to the adapter and your TV or monitor. For a one-cable solution, you can opt for a USB-C to HDMI cable that connects directly from your ROG Ally to your display.
It’s important to note that some USB-C to HDMI adapters include a passthrough USB-C port for powering your ROG Ally while connected to an external display. If your adapter has this feature, you’ll need an additional USB-C cable and your power adapter to charge the internal battery while playing.
Step-by-Step Instructions
Plug a USB-C to HDMI adapter (or cable) into the ROG Ally’s USB-C port on the top of the enclosure. If you’re using the ROG Gaming Charger Dock, connect one end of a USB-C cable to the ROG Ally’s USB-C port and the other end to the USB-C charging port on the Charger Dock.
Connect an HDMI cable to one end of the adapter (or Charger Dock) and plug the other end into an available HDMI port on your TV or monitor. If you’re using a direct USB-C to HDMI cable, simply plug the HDMI end into your TV or monitor.
(Optional) If your USB-C adapter includes a passthrough USB-C port for charging, connect your ROG Ally’s power adapter to the passthrough USB-C port to provide power.
Power on the ROG Ally; it should automatically detect and output the video signal.
Switch your TV or monitor’s input to the correct HDMI port to view your ROG Ally’s display.
Connecting via a Docking Station
For a more Switch-like experience, consider a docking station. Although the ROG Ally doesn’t have an official docking station (the ROG Gaming Charging Dock being more of an adapter), third-party options abound. Docking stations let you place the ROG Ally into a stand to connect to your TV or monitor while charging.
What You’ll Need
Our Top Pick:
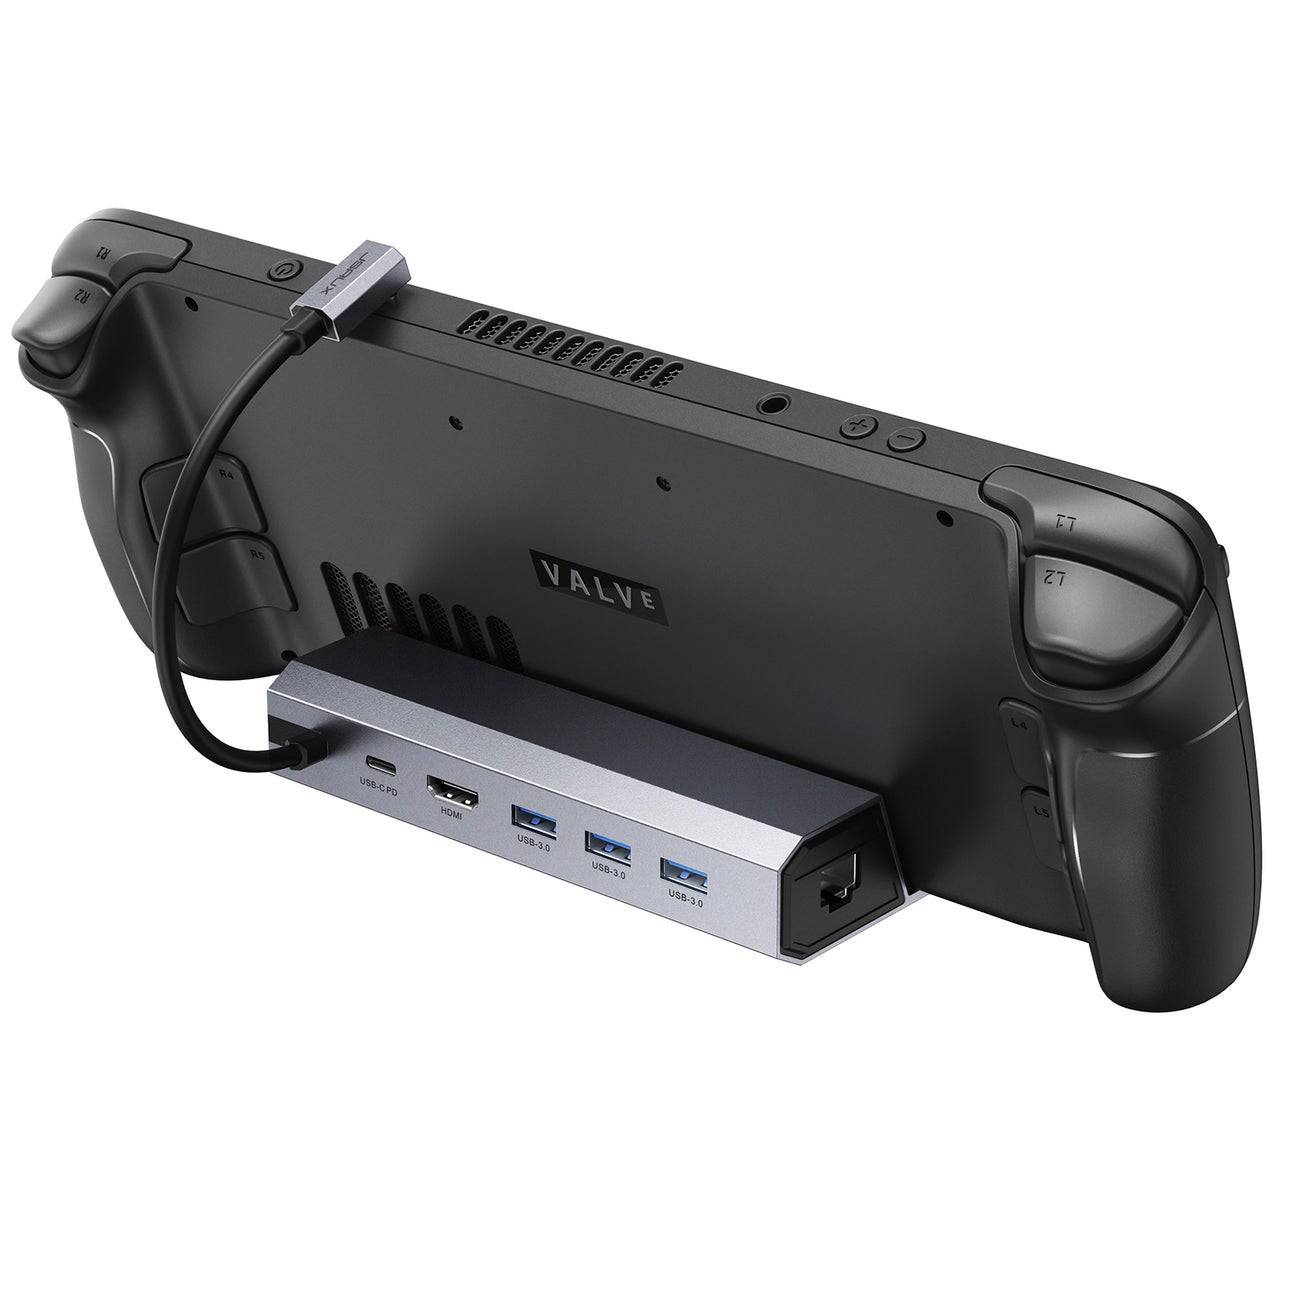
JSAUX Docking Station HB0603
- Offers 210 watts of power for fast charging and multiple ports.
- Lightweight and compact, making it ideal for travel.
- Available at Amazon.
Basic docking stations designed for the ROG Ally typically feature an HDMI port and a USB-C passthrough charging port to power the device while connected to your TV or monitor. However, more advanced models include additional USB ports for peripherals like mice and keyboards, Ethernet ports for stable internet connections, SD card slots for expanding storage, and even DisplayPort for connecting secondary displays. Compact docking station options are perfect for travelers who want to connect to larger screens on the go. Many Steam Deck-compatible docks also work with the ROG Ally.
Step-by-Step Instructions
Place your ROG Ally into the dock.
Connect the USB-C power cord to the ROG Ally’s USB-C port on the top of the enclosure.
Plug your ROG Ally’s power adapter into the USB-C charging port on the ROG Ally.
Connect an HDMI cable to the HDMI port on the dock and the other end to a vacant HDMI port on your TV or monitor.
Power on the ROG Ally and it should automatically detect and output the video signal.
Switch your TV or monitor’s input to the correct HDMI port to view your ROG Ally’s display.
You’ll Also Need a Controller
While you can connect a mouse and keyboard to your ROG Ally docking solution, using a wireless controller provides a more comfortable experience when playing on a larger screen. Luckily, the ROG Ally supports any Bluetooth-enabled gaming controller. Below are some recommendations for controllers that work seamlessly with the ROG Ally.
Our Top Pick:
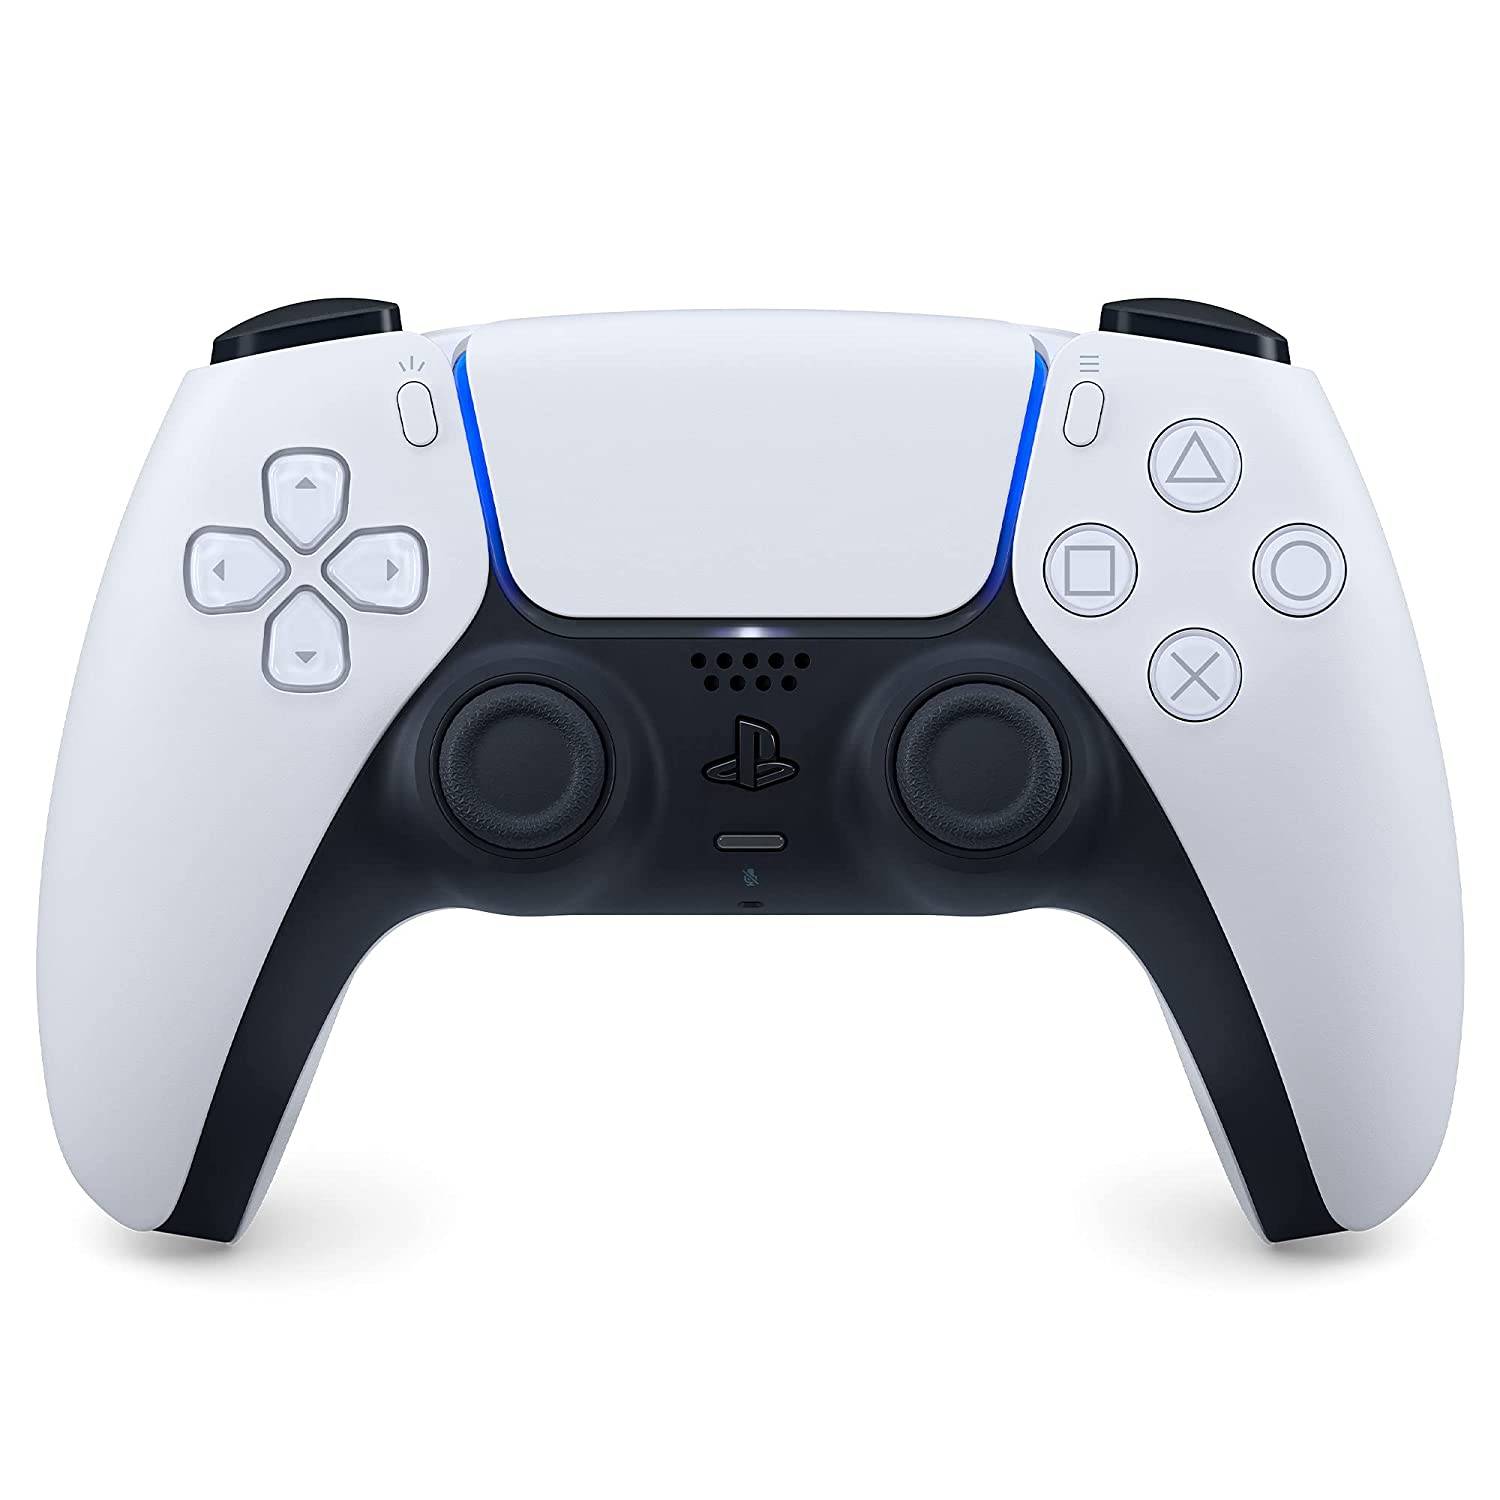
Sony DualSense
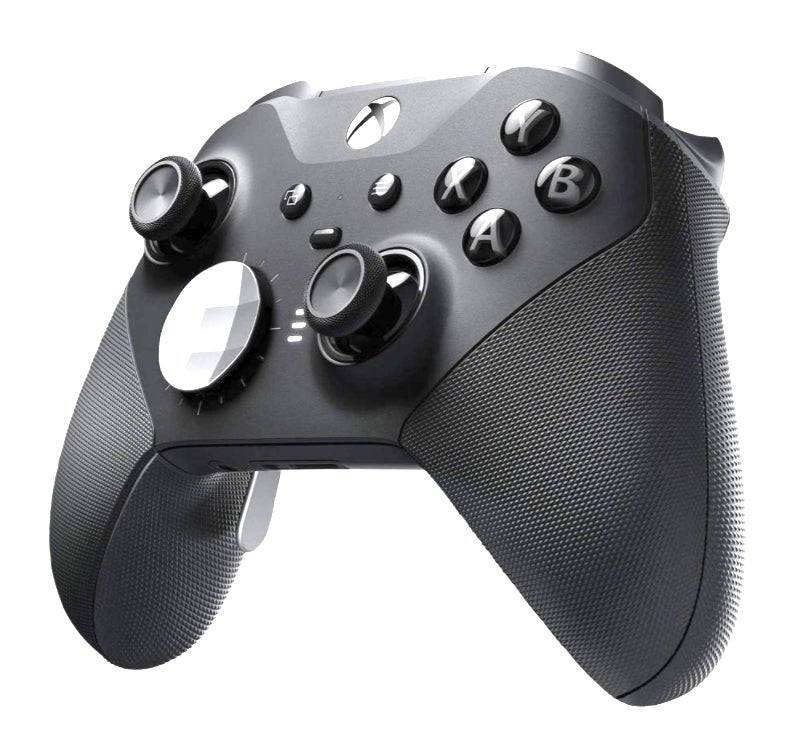
Xbox Elite Series 2 Controller

8BitDo Ultimate Controller
- Available at Amazon.
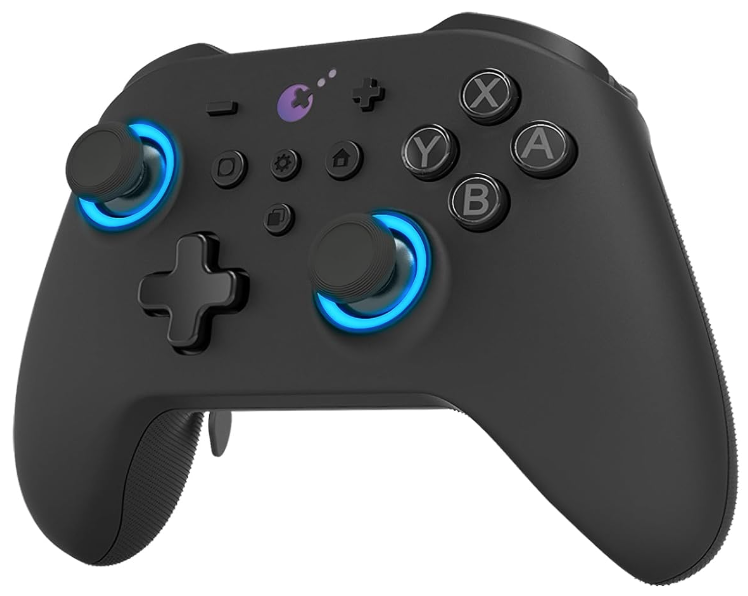
GuliKit KingKong 3 Max Controller
- Available at Amazon.
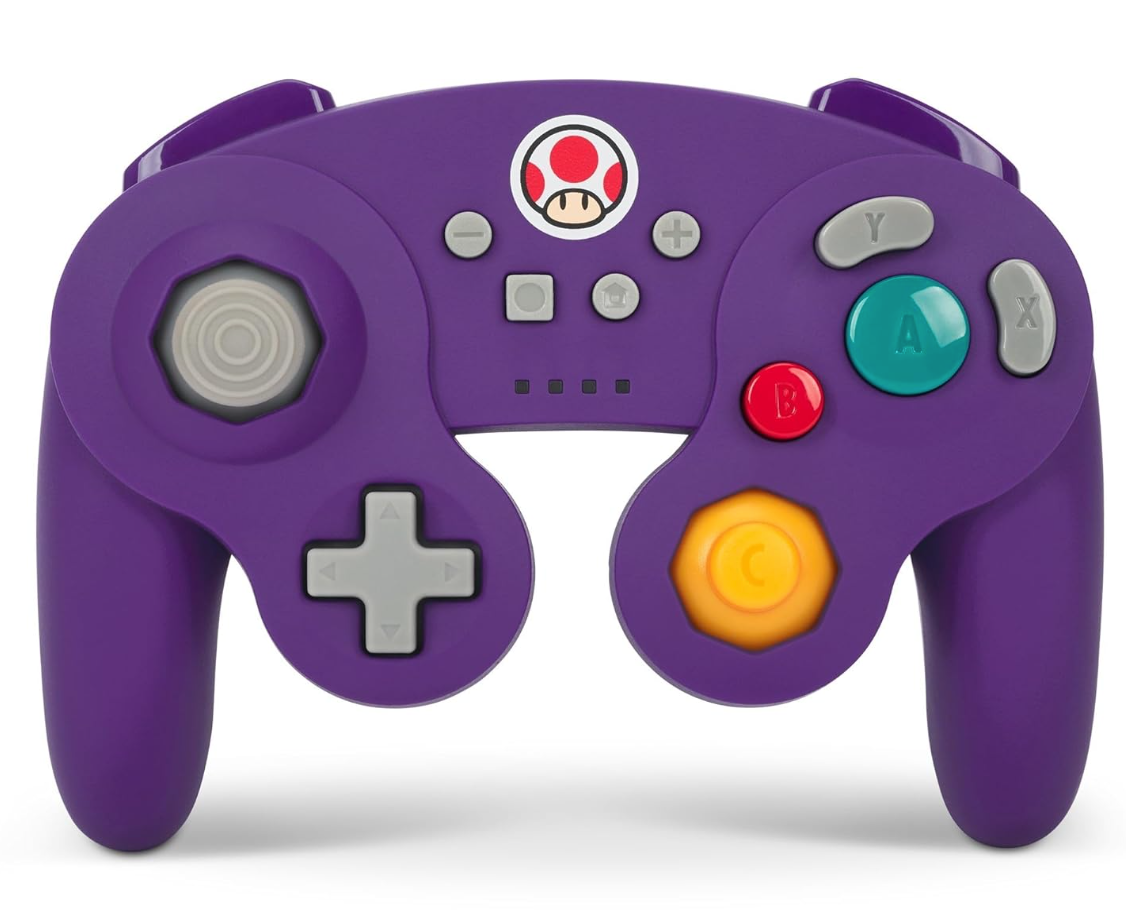
PowerA Wireless GameCube Style Controller
- Available at Amazon.
This includes first-party options like the PS5’s DualSense, the Xbox Wireless Controller, or the Nintendo Switch Pro Controller, along with various third-party controllers. Some controllers use a 2.4GHz wireless connection with an included USB adapter, providing lower latency and better range compared to standard Bluetooth controllers. Alternatively, you can opt for a wired USB controller if you’re close enough to your ROG Ally or docking station for a simple plug-and-play setup.
-
 Mar 17,25All Split Fiction Achievements & How to Unlock Them Dive into the captivating co-op adventure Split Fiction from Hazelight Studios! This guide outlines every achievement, ensuring you and your partner conquer every challenge. While some trophies are earned naturally through the story, many require thorough exploration and unique actions. Use this g
 -
 Apr 05,25Balatro Cheats: Accessing the Debug Menu Guide Balatro took the gaming world by storm upon its release in early 2024, selling over 3.5 million copies and clinching three out of five nominations at the 2024 Game Awards. Its innovative gameplay and endless replayability have kept it a favorite among players. As players become more adept at its mec
 -
 Jan 16,25Girls' Frontline 2: Exilium Tier List Released Another free-to-play gacha game, another character ranking to guide your investment choices. This Girls’ Frontline 2: Exilium character tier list helps you prioritize which characters are worth your resources. Girls’ Frontline 2: Exilium Character Tier List Here's a breakdown of currently available
 -
 Apr 09,25"Top 11 Minecraft Alternatives to Play in 2025" Minecraft has captivated gamers around the globe, becoming one of the best-selling games ever. But what if it's not quite your cup of tea? Or perhaps you're a die-hard fan looking for more experiences in the same genre? We've curated a list of the 11 best games similar to Minecraft that you can dive